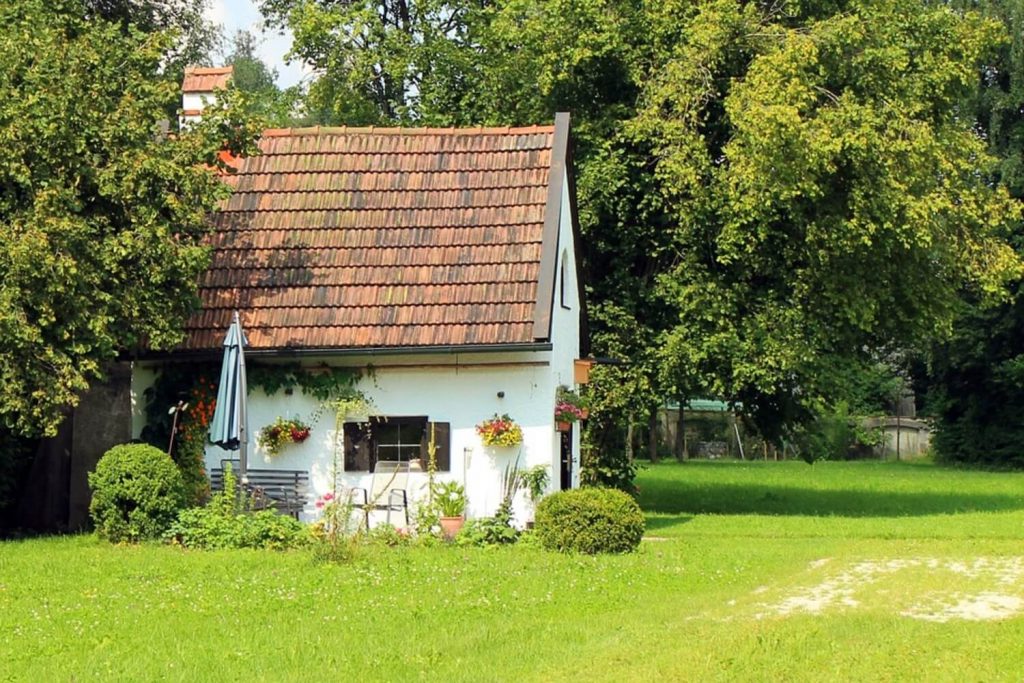
Before, she-sheds were only seen as a counterpart to man caves. However, they’re more than just that. Many benefits come with having a she shed in your garden. They’re fantastic for storage and make your yard clutter-free. It’s also a great place to relax and get away from all the stress and hustles of life. Growing up plants in your she-shed can even provide a therapeutic effect. So, interested in building your own she-shed now? Here’s a step-by-step guide to ensure a smooth process.
Create a Plan
No renovation project will ever be complete without some sort of plan. While it’s possible to try building the shed by trial and error, you’ll be wasting resources for a result that will probably end up being substandard. But with a plan, you can create a visual representation of what you want to accomplish before investing in tools and materials.
Start off with drafting some kind of sketch or outline of your new shed. Once this is done, get out some graph paper and scale all measurements depending on the size of your future garden shed. This way, you can avoid making costly mistakes while constructing your new structure.
Gather Supplies
The next step involves gathering necessary supplies for installation. Although different sheds will require varying measurements, here’s a general list of essential materials you’ll need:
- Hammer & nails: This includes both roofing nails for shingles and smaller nails for assembling the wood panels.
- Drill & screws: Provides more stability than nails to help secure important pieces of the shed, such as supports and braces.
- Saw: Comes in many shapes and sizes, but a good rule of thumb is that you’ll want something flexible enough to cut plywood or thick panels of material.
- Leveler: Used to line up boards properly before securing them together with screws or nails. This will ensure that the base is ideally even, making it easier to assemble other parts later on.
- Plywood: Can be used to build up the walls of the shed. The stronger the plywood is, the more weight it can hold and the sturdier the structure will be.
- Cedar Shakes: Typically used for roofing because they’re water-resistant and produce a beautiful color when painted.
- Shovel: Used for digging up the foundation of the shed.
- Paint: Color your shed to make it stand out in your yard.
Keep in mind that these are just some of the most basic materials you’ll need. You’ll have to do extra research on tips depending on what type of shed you want to build.
Building Your Shed
Once you’ve got everything ready, it’s time to get to work.
- Start by flattening the surface you’ll be working on, then pinpoint the location of the foundation blocks and lay them on the ground. Most sheds are 8×8 in size.
- Next, proceed to place the base frame on top of the foundation blocks. Use the leveler to ensure that your shed will sit straight.
- Hoist the floor frame and internal joist to the pier blocks. Make sure that the frame is beefy so your shed will hold up to the weight of materials.
- After making sure the frame is sturdy enough, it’s time to add the floor joists. Use galvanized hangers and screws to attach them to the frame.
- Add the floorboard next. Use exterior screws to fasten it. Cut off the edges with a circular saw.
- Assemble your roof trusses in advance this time. After that, start framing up the sidewalls and the sidewall panels.
- Once everything is set, start installing them on your floorboard. By this time, your shed should be taking shape.
- Put up the last wall in place and proceed to install the roof. Start by fastening the trusses to the top end of the walls using screws.
- Paint your shed with whatever color your want! If you want to clean things up, you can trim uneven edges.
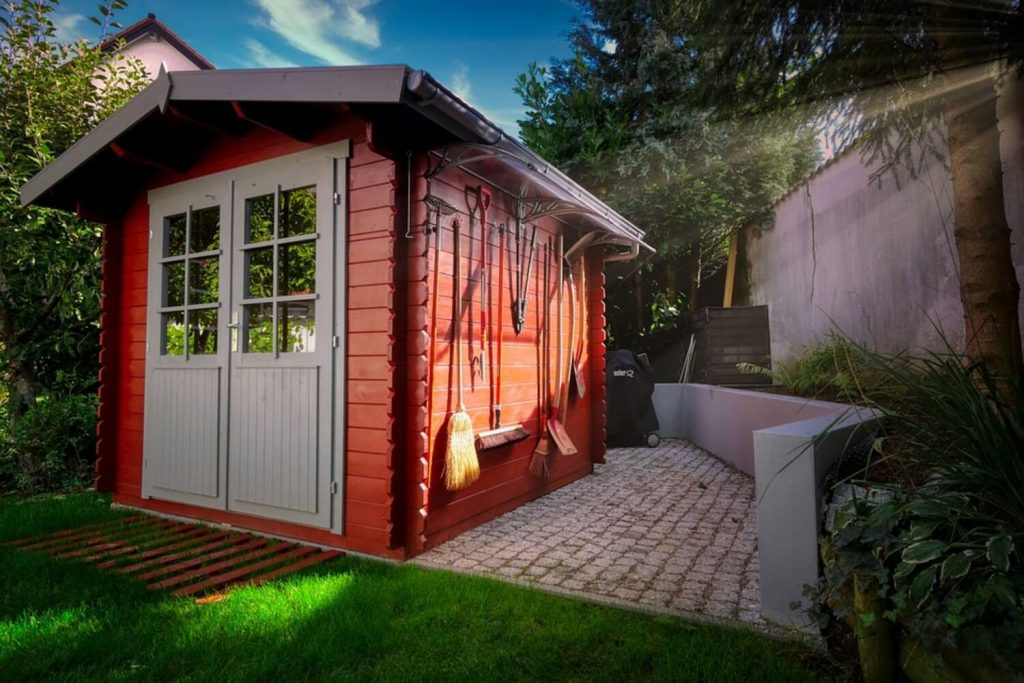
- It’s time to add the miscellaneous and interior stuff like the roof shingles, vents, shelves, and door.
- Finally, fill it with the stuff you want – books, a chair, a bed, a hammock, lamps, plants, or any other aesthetic that you prefer.
One Important Consideration
Since you’re most likely concerned about your she shed’s aesthetic, its overall appearance must match that of your home. You don’t want your shed to stand out too much and divert attention away from your house. This means rocking the same exterior. That said, you can always contact your trusted siding installers to take measurements for your shed.
Conclusion
Building a she-shed can be done DIY. However, it’ll require a considerable amount of research, effort, and patience. While this blog post has already outlined the basics above, it’ll be better to watch video tutorials on YouTube for reference. You got this!